Photographing Your Whitewater Rafting Adventure: Tips and Tricks

As you prepare for an unforgettable adventure through Colorado’s rugged rivers and breathtaking landscapes, capturing your experience through photography might be on your vacation hit list. Whether you’re navigating the rapids of the Arkansas River or gliding through serene stretches of the Colorado River, there are countless opportunities for stunning and dynamic photos. Below, we highlight a few tips and tricks for photographing your whitewater rafting adventure. From choosing the right equipment and capturing action-packed moments to editing your photos for maximum impact, we’ve got you covered.
Pre-Trip Planning
When it comes to photographing a whitewater rafting trip, the importance of waterproof equipment cannot be overstated. Action cameras like the GoPro or DJI Osmo Action are excellent choices due to their durability, compact size, and ability to capture high-quality images and videos in challenging conditions. These cameras are designed to withstand water, shocks, and rough handling, making them perfect for adventurous activities.
If you prefer to use your smartphone, invest in a high-quality waterproof case. Brands like LifeProof and OtterBox offer cases that provide protection against water and impact, ensuring your phone stays safe while you capture your rafting experience. Waterproof cases with built-in floatation are ideal to prevent your device from sinking if dropped in the water.
Understanding the Rapids
Colorado’s rivers offer a range of rapids, classified from Class I (easy) to Class V (extremely difficult). Familiarize yourself with the type of rapids you’ll be encountering on your trip. This knowledge will help you anticipate the best moments for action shots and prepare for the more intense sections of your journey. Each river and section has its own distinctive characteristics. Research the specific river and route you will be taking. Understanding the flow, potential obstacles, and scenic points along the way will help you plan your photography better. Consult with your rafting guide for insights into the best spots for capturing dramatic moments.
Planning Your Shots
Before you hit the water, think about the types of shots you want to capture. Are you aiming for high-energy action shots, serene scenic photos, or candid group pictures? Having a clear vision will help you focus your efforts and make quick decisions on the water.
Lighting plays a crucial role in photography. Early morning and late afternoon, known as the “golden hours,” offer soft, warm light that can enhance the beauty of your photos. Midday light, while harsher, can also be used effectively, especially if you’re focusing on the vibrancy of the water and landscape. Plan your shots around these times to take advantage of the best natural light.
Action Shots
Where you position yourself in the raft can significantly impact your photos. Sitting at the front of the raft offers a clear view of the rapids ahead and the paddlers’ actions, making it ideal for action shots. However, this position can be more unstable and wetter. The back of the raft, on the other hand, provides a broader perspective, allowing you to capture the entire raft navigating the rapids. Choose your position based on the type of shots you want and your comfort level.
For hands-free photography and a first-person perspective (POV), consider using a helmet or chest mount for your action camera. A helmet mount captures the view from your perspective, including the excitement of the rapids and your fellow rafters’ reactions. A chest mount provides a lower angle, offering a unique and immersive perspective of the paddling action and the rushing water.
Whitewater rafting is fast-paced, and moments of excitement can be fleeting. Using the burst mode on your camera allows you to take multiple frames per second, increasing the likelihood of capturing the perfect shot. This mode is particularly useful when navigating rapids or during moments of high action.
To freeze the action and capture sharp images, set your camera to a high shutter speed. A shutter speed of at least 1/1000th of a second is recommended for whitewater rafting. Additionally, ensure your camera’s ISO setting is adjusted appropriately to maintain image quality while accommodating the high shutter speed. Using the continuous autofocus mode will help keep moving subjects in focus.
Safety Tips
While capturing amazing photos is important, your safety should always come first. Pay attention to your guide’s instructions and be aware of your surroundings. Avoid focusing too much on your camera, especially during challenging sections of the river. Ensure all your photography equipment is securely attached to you or the raft. Use strong, waterproof straps and mounts to prevent losing your gear in the rapids. Regularly check that all attachments are tight and secure before entering more intense sections of the river.
Stay alert to changes in the river and potential hazards. If you’re using a helmet or chest mount, remember that your view might be slightly obstructed. Take quick glances around to stay oriented and ensure you’re not missing any critical safety cues from your guide or fellow rafters.
Scenic Photos
Whitewater rafting in Colorado offers not just the thrill of rapids but also breathtaking landscapes that deserve to be captured. To capture these elements effectively, keep an eye out for scenic vistas and natural features along the river. Early mornings and late afternoons provide the best light, casting a warm glow over the landscape and enhancing the colors of the scenery.
The “golden hours” shortly after sunrise and before sunset are ideal for scenic photography. The soft, diffused light during these times reduces harsh shadows and brings out the natural beauty of the surroundings. Midday light can be harsher but can also create dramatic contrasts and vibrant colors, especially on sunny days.
Wide-Angle Lenses
Wide-angle lenses are perfect for capturing the expansive beauty of Colorado’s landscapes. These lenses allow you to include more of the scene in your frame, making it easier to showcase the grandeur of the mountains, the flow of the river, and the vastness of the surrounding nature. A wide-angle lens also creates a sense of depth, drawing viewers into the scene.
Combining action with scenery can create compelling and memorable photos. Try to capture moments when the raft is framed by beautiful landscapes. For example, as your raft passes through a serene stretch of the river with mountains in the background, take a wide shot that includes the entire scene. These photos highlight the adventure within the context of Colorado’s natural beauty.
To balance action and scenery, use a combination of wide and close-up shots. While wide-angle shots capture the overall beauty of the landscape, closer shots can focus on the expressions of joy and excitement on the faces of your fellow rafters. Experiment with different angles and perspectives to find the best composition that captures both the thrill of rafting and the splendor of the surroundings.
Candid Moments
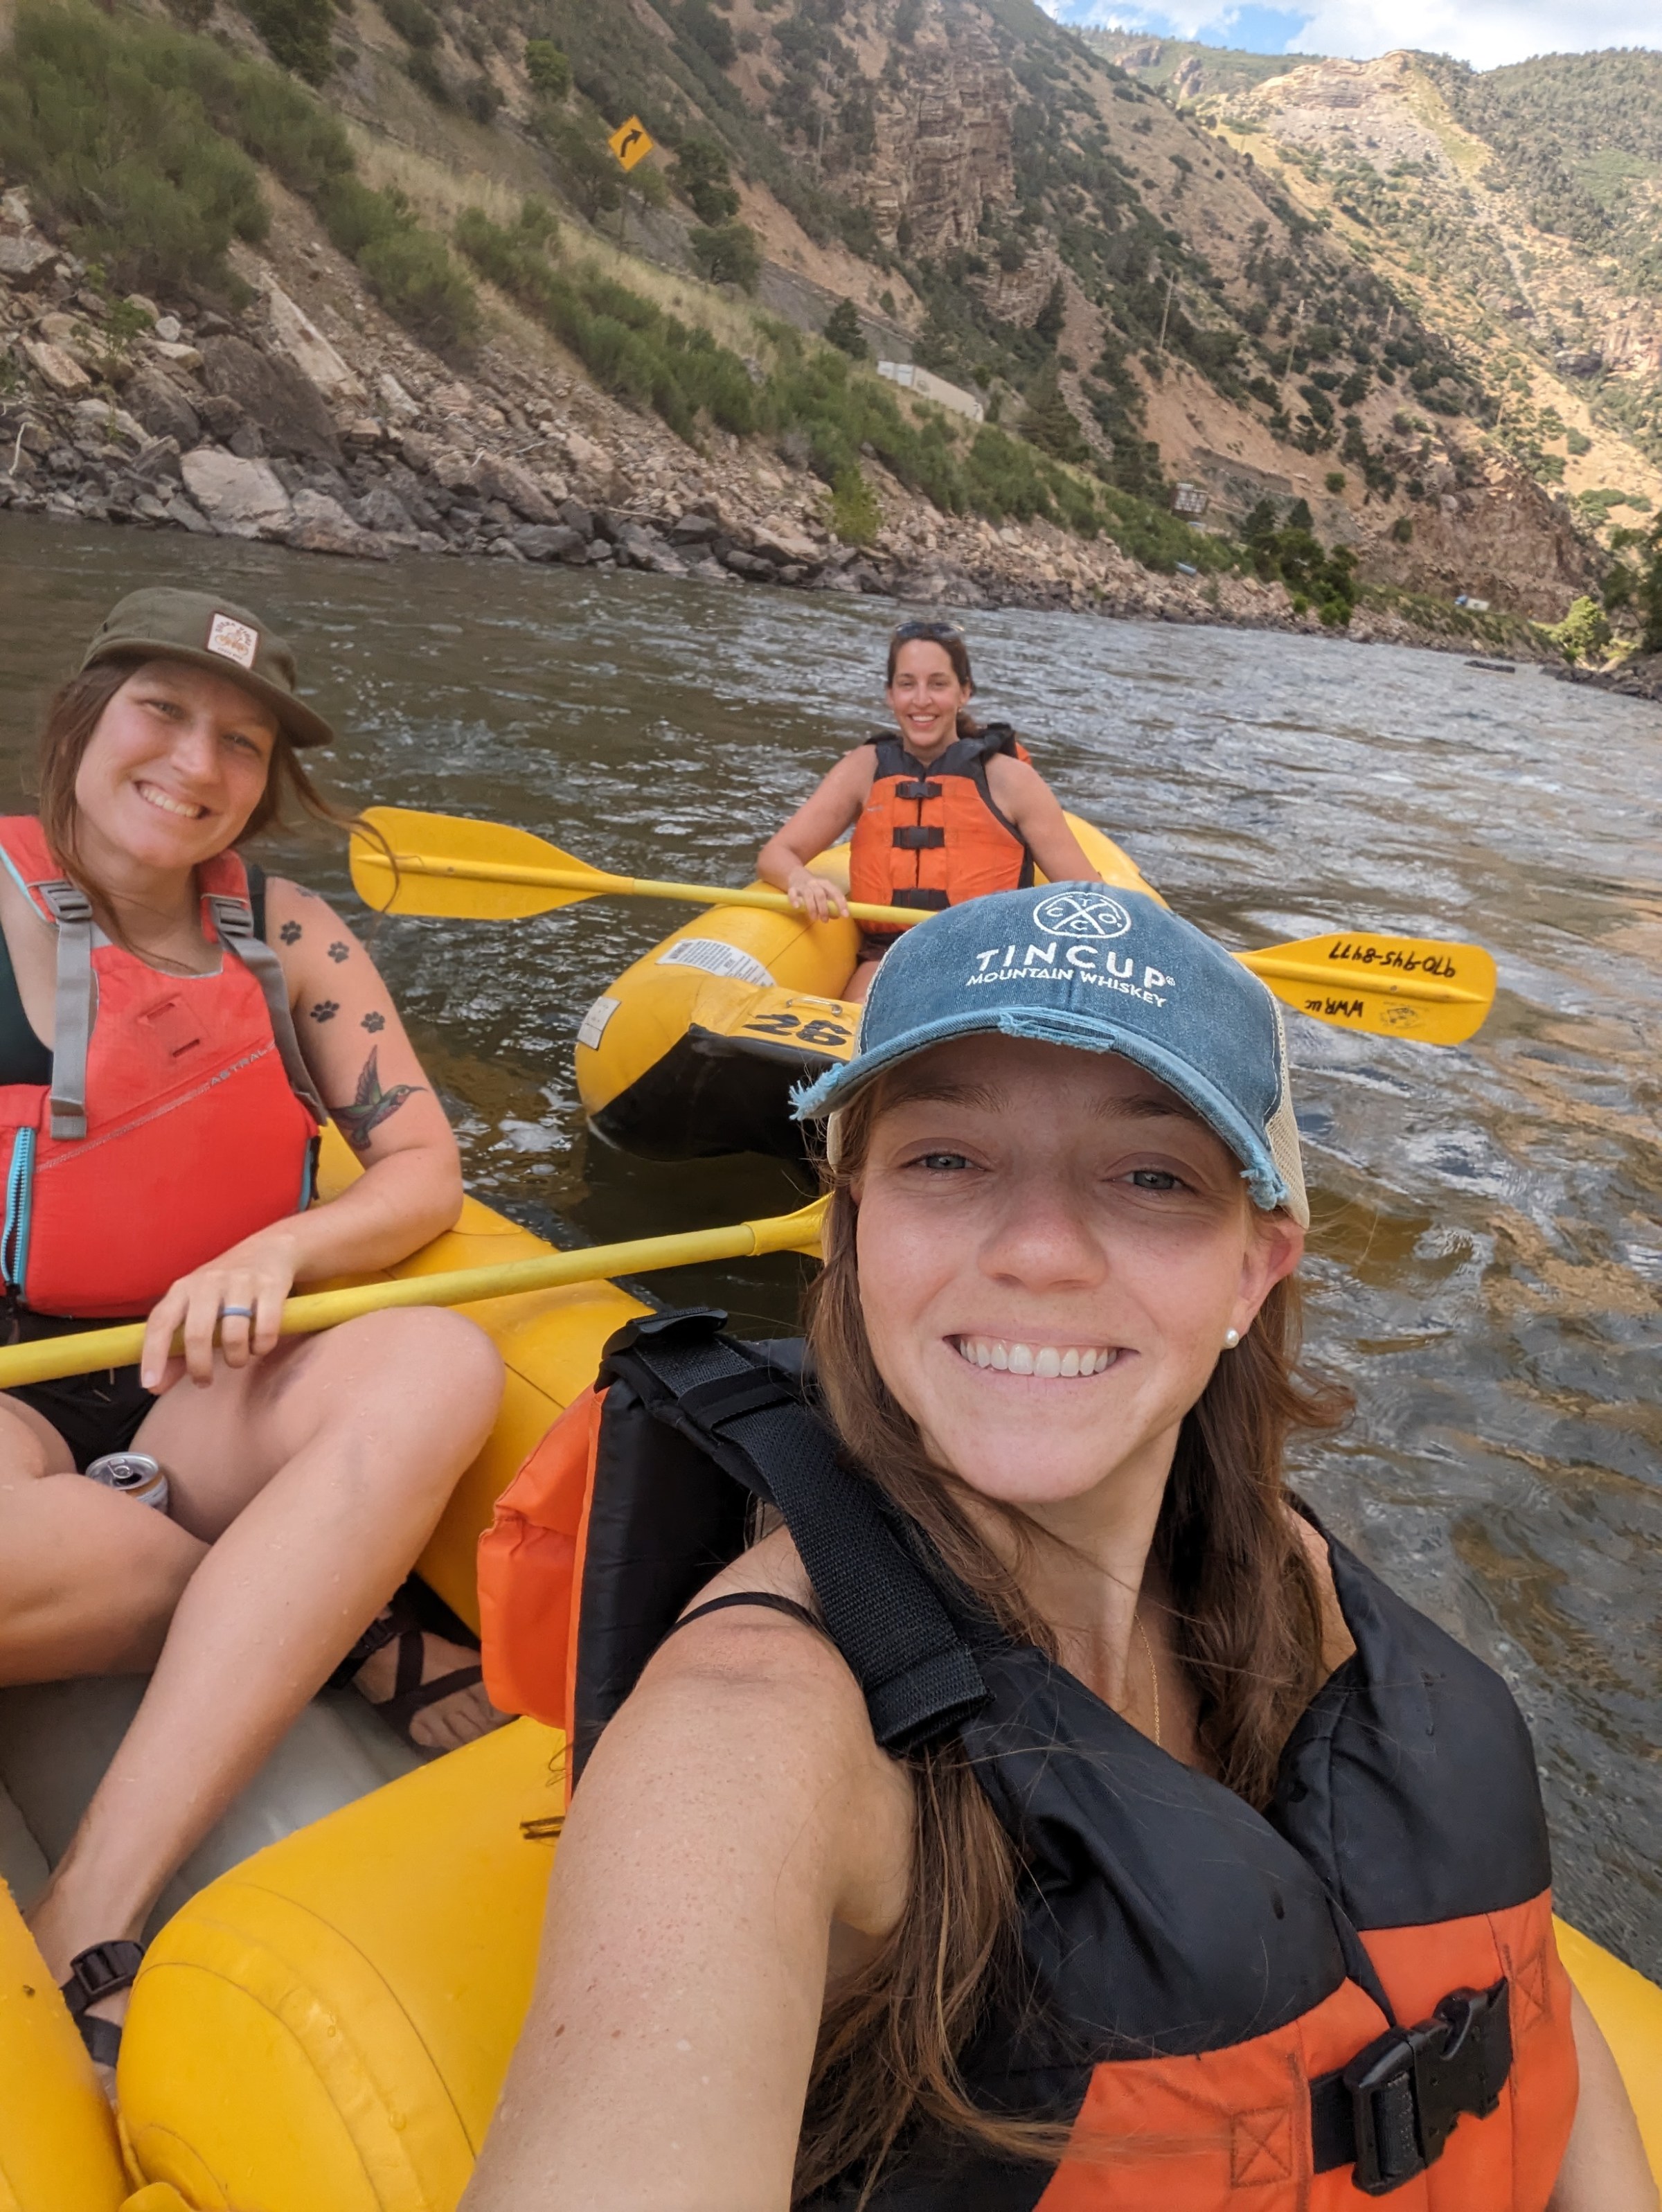
Capturing group and candid shots can help preserve these memories and convey the fun and excitement of your rafting adventure. During calmer sections of the river, take the opportunity to capture posed group shots. These moments provide a chance to gather everyone together and capture smiles, high-fives, and team spirit. Coordinate with your guide to find the best spots for group photos. Make sure everyone is visible and that the background highlights the beauty of the surroundings.
Candid shots often capture the true essence of your rafting adventure. Keep your camera ready to snap photos of spontaneous moments, such as bursts of laughter, expressions of triumph after conquering a rapid, or quiet moments of reflection as you float through a serene section of the river. These candid shots tell a more personal and authentic story of your trip.
Selfie Sticks and Tripods
Selfie sticks can be a handy tool for capturing group selfies and one-of-a-kind angles. When using a selfie stick, ensure it is securely attached to your wrist with a strap to prevent losing it in the water. Extend the stick to include everyone in the shot and take advantage of the wide-angle capabilities of your camera or phone to capture more of the background. Be mindful of your surroundings and avoid using the stick during intense rapids where it could become a safety hazard.
Portable tripods can be useful for setting up stable group photos, especially during breaks on the riverbank. Look for compact, waterproof tripods that are easy to set up and can be securely placed on uneven surfaces like rocks or sandy shores. Use the tripod to capture timed shots, allowing everyone, including the photographer, to be in the picture. This can be particularly helpful for larger groups or when you want to include more of the landscape in the background.
Once you’ve captured your group shots, use editing software to enhance them. Basic adjustments like cropping, straightening, and adjusting exposure, contrast, and saturation can make a significant difference. Use tools like Adobe Lightroom or mobile apps like Snapseed to fine-tune your images. Focus on bringing out the details in faces and ensuring that the colors of the landscape pop.
